
With all your hard work that has gone into keeping your hive abuzz, it’s about that time to start preparing to reap those sweet rewards – the honey! Whether you are a first-time beekeeper or an experienced backyard bee hobbyist, here is some information and tips to get you going on harvesting your honey.
There are many uses for honey. With honey containing antimicrobial properties (an agent that kills microorganisms or stops their growth) and never having a shelf life, it becomes an essential product that helps anything from relieving symptoms of a cough and cold to healing wounds and burns.
So, when is the best time to harvest your honey? Generally, beekeepers harvest their honey at the conclusion of a substantial nectar flow and when the beehive is filled with cured and capped honey. It’s recommended to harvest in late summer so the bees can prepare for the winter months.
If this is your first year of beekeeping, you won’t want to harvest just yet. The new colony needs a full season to build up a large enough population to gather a surplus of honey. During the winter, bees need a sufficient amount of honey to help them survive. You can talk to your local beekeepers’ association to find out how much honey needs to be left in the hive over the winter in your region. Some regions recommend as many as three brood boxes be left full of honey to allow bees to live through the harsh winter season.
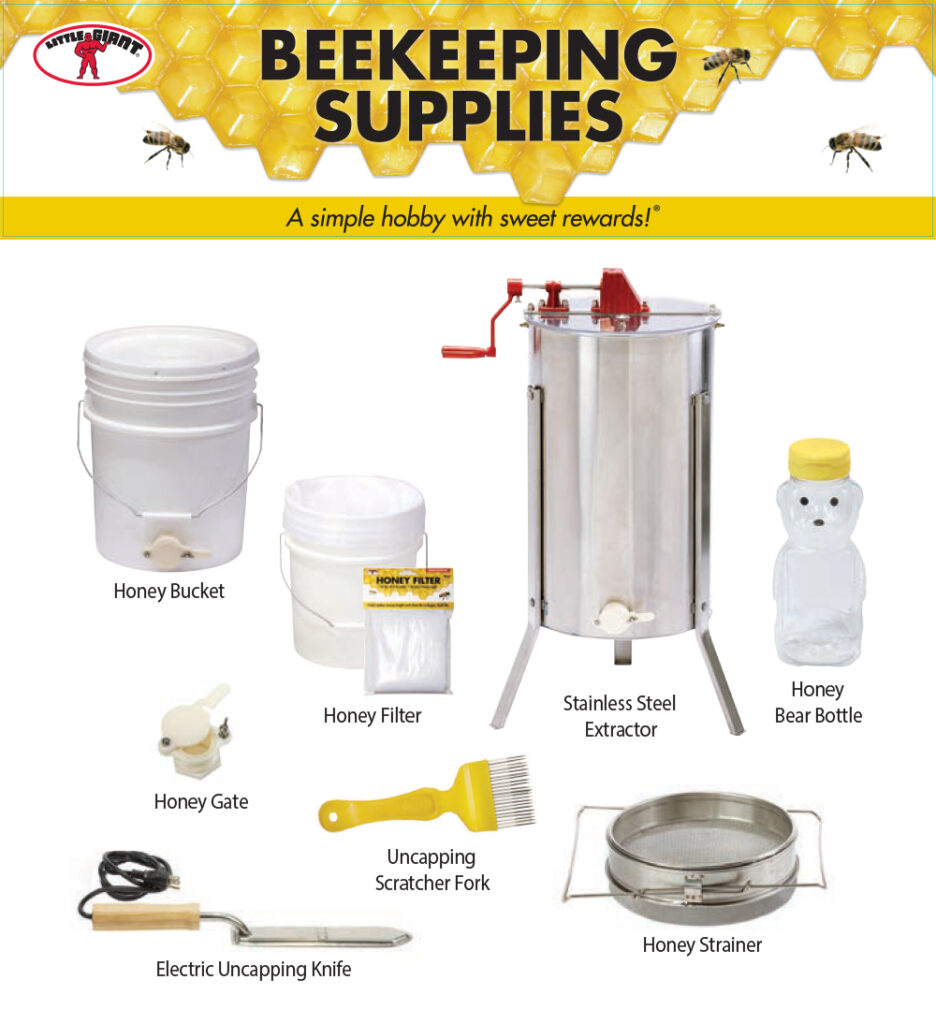
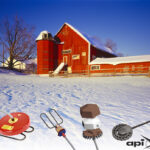
If this is your second (or more) year of beekeeping, it’s time to start preparing to harvest your honey. We’ve outlined some steps and tools we recommend using to ensure your process goes smoothly with no sting! To see a honey extraction in process, click here. For more information on honey extraction, check out our How To Video.
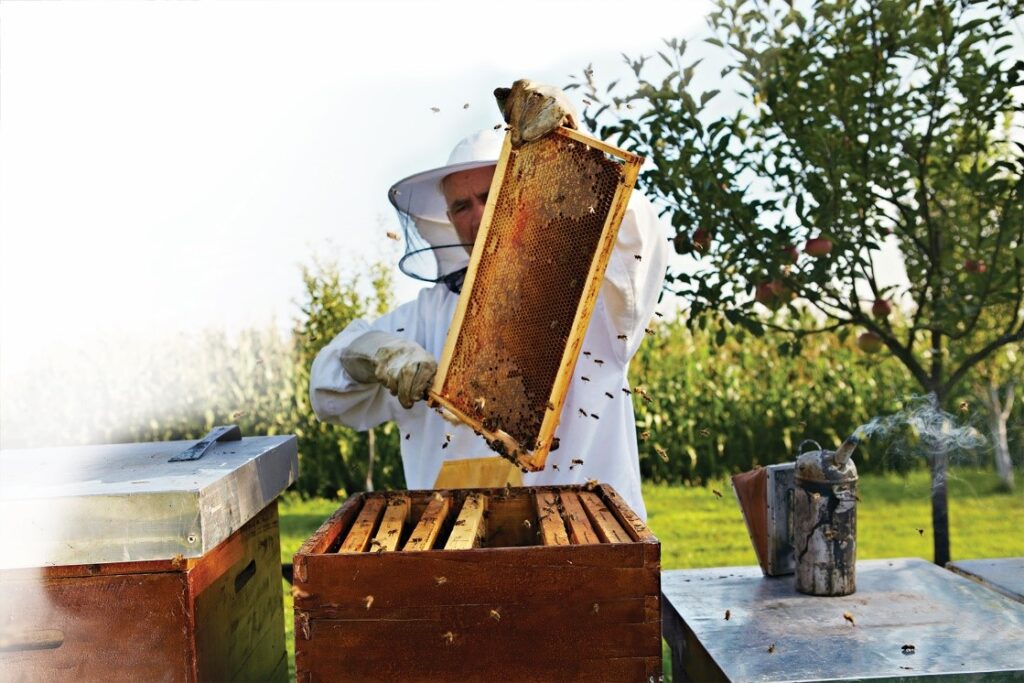
Step 1: Remove your honey super and bring it inside, where the bees can’t get to it. When you’re outside, gently brush any bees off with a soft bee brush
Step 2: Once inside, one by one, remove each frame of capped honey from the super
Step 3: Use an uncapping knife to remove the wax cappings
Step 4: Use an uncapping scratcher fork to remove any remaining cappings, or those missed by your uncapping knife
Step 5: When you’ve uncapped both sides of your frame, place it vertically in your extractor and begin to crank. Make sure you have your bucket with honey filter/strainer set up below your extractor’s honey gate
Step 6: After a few minutes of cranking, you can check your frames and one side should be clear of honey. Remove and flip the frame to get honey extracted from the other side of the frame.
Step 7: The honey will flow out of your extractor and into your strainer, then into the bucket below. And it’s ready to be bottled!
To learn more about beekeeping and honey, click here to download our FREE Little Giant flip-and-turn Guide to Beekeeping/Guide to Honey.


Leave a Reply